ARMORETCH CONCENTRATED ACID-SAFE ETCHING KIT
The Job is only as good as the Prep
You can’t get a great result if you don’t prepare. It applies to more than just sports and the SAT, it applies to epoxy applications, too!
Most of the problems that people bring to us at ArmorPoxy can be traced back to incomplete, insufficient, or non-existent prep work on the surface to be coated. Coating your floor, deck, tub or patio is a DIY commitment, and you want the best possible result on the first try. So don’t skimp on the prep! Here are some tips to help you get the best result for your hard work.
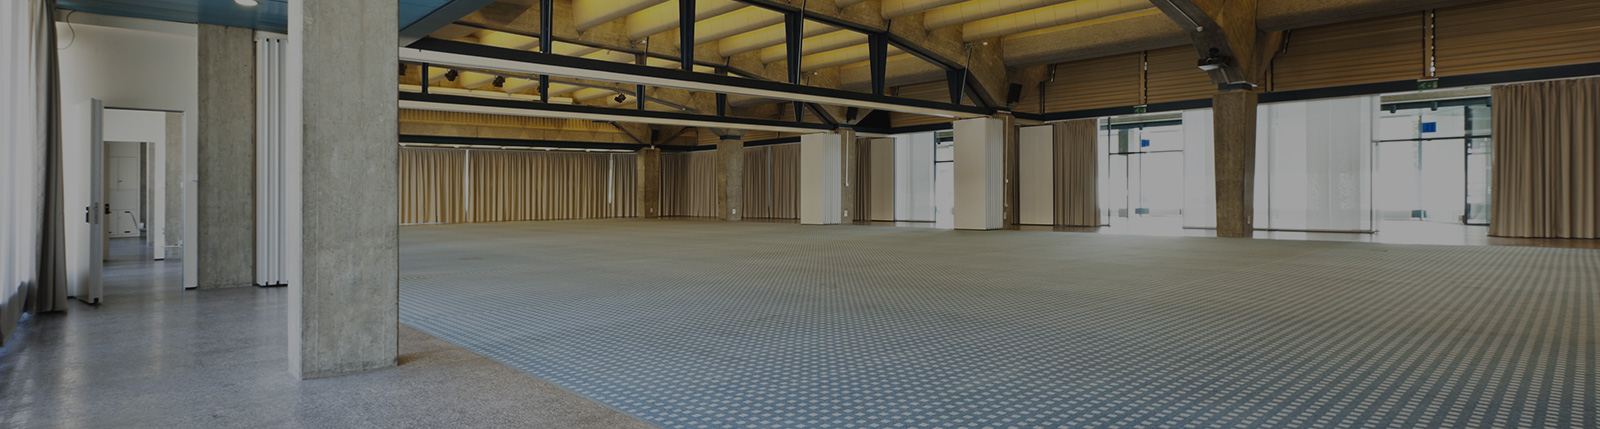
Prepping Your Concrete Floor
Before you apply any coating, you need a clean, dry floor without debris, moisture, cracks or holes. Give the area a thorough sweep. Clean up any grease stains with a degreaser and a stiff brush. You don’t need to remove all of the discoloration, just the greasy residue. If you drop some water on the spot and it sinks in, you have done the job. If it beads up, give it another good scrub and test it again.
If you are applying an epoxy coating over an existing coating, examine the coating to make sure that it is bonded to the floor. Any loose coating must be removed completely, and the edges sanded to a feathered edge. The entire floor should be sanded until no gloss remains on the old coating. Then vacuum and wipe up any dust from the sanding process. When you coat over an old coating, you should coat a test patch to make sure the new epoxy is compatible with the old coating.

Repair any small cracks or holes with a concrete patch product. F or for larger cracks use an epoxy patch kit specifically designed for cracks larger than ¼ inch. Follow the directions on the product you choose for preparing the crack to accept the patch, and sanding or grinding it smooth after it dries.
Make sure you sweep or vacuum all debris from your floor again. To finish preparing an uncoated concrete floor, you need to etch, acid wash or grind the floor, as a smooth floor will not allow the epoxy to adhere well. You can rent a sand blaster or diamond grinder and rough up the surface. Or you can etch, or acid wash, the floor using a product designed for concrete floor prep.
The final prep step is the application of primer, if the floor has not been previously coated. The kits on our product page provide everything you need to professionally prepare your concrete floor to insure a beautiful and long lasting epoxy coating.
Prepping your Bathtub
Prepping your bathtub for its new epoxy coating is in some ways similar to prepping concrete, because you need the same kind of surface to insure that the epoxy adheres to the tub.
The tub surface must be free of cracks, chips, rust, or debris. For surface cracks or chips, use an automotive epoxy filler or the Armorpoxy chip fix kit. If there is rust, sand it away first then treat it with a rust neutralizer, also available at automotive supply stores. Fill in the sanded area with epoxy filler. Once the filler is dry, sand it smooth.
Remove old caulk and grout with a scraper.
Remove all removable fixtures and cover the rest with masking tape and plastic. Be careful not to mask any area that you want to paint. Also make sure to cover the faucet with a plastic bag and some making tape. Stray water drips can ruin your coating before it dries!
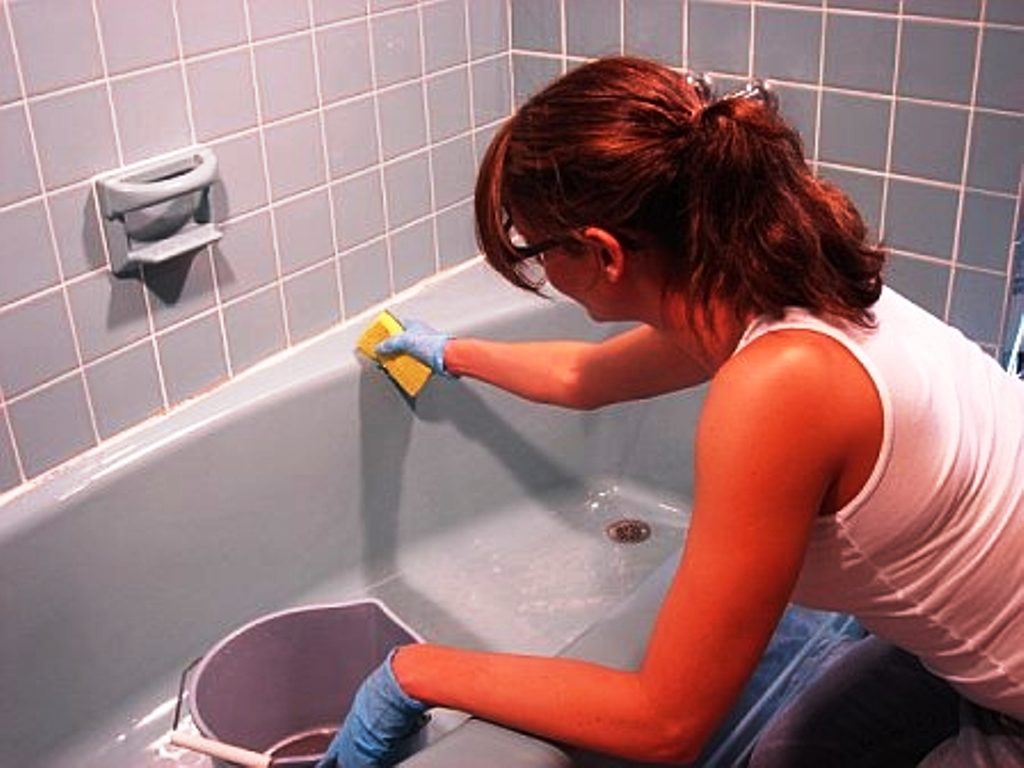
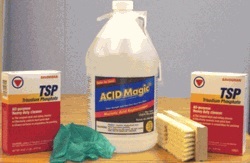
Now that you have made any needed repairs, it is time to clean, clean and then clean again. Don’t forget to wear protective gloves and eye wear for these steps. Clean the tub thoroughly with a degreaser, or with the packet of cleaner in your kit. Go over it again with a clean sponge and clear, warm water, then dry it with some paper toweling.
Using the same solution that you washed it with the first time, use steel wool and go over the entire surface again. Rinse with clear water and dry it. Repeat the steel wool wash, rinse and dry two more times. This will prepare the surface to accept and hold on to the coating.
Once the surface is clean and dry the final time, mask the surrounding areas with plastic and masking tape to avoid overspray.
Fire up the sprayer, apply the epoxy fortified paint, and update that tired tub.
Prepping the Deck

Getting the unsightly deck ready for a new epoxy coating is much less labor intensive than some of the other preps. It still starts with an inspection of the surface you are going to coat. Sweep up debris, paying special attention to the cracks between the boards. You don’t want to seal over leaves or sticks that can decompose and cause the wood to rot! Screw down any raised boards, and replace any rotted boards. Give it a good power wash, and let it completely dry. You are now ready to apply the wood and concrete resurface product and reclaim your outdoor living space.
Creating the Look you want
Now that your surface is ready, there are nearly infinite possibilities for coating it to create a beautiful and long lasting finish that you will enjoy for years.


Trackbacks/Pingbacks
[…] preparation, including thorough cleaning, repairing cracks, and removing contaminants, is essential. A […]