Armor Ultra 3-Layer system is the ultimate industrial epoxy floor coating. It is not only cost effective, but exceptional in performance especially in the industrial floor coating section. Armor Ultra 3 Layers is not your ordinary epoxy solution, it is packed with deliverable convenience and comprehensive kit that prep your floor for maximum coverage and transform your space into a new area. With Armor Ultra 3 Layer system, your floor is cured from all dries and rock hard finish. It is transformed into a mirror-like high gloss finish.
With the Armor Ultra 3 Layer system, your floor is resistant to UV, chemicals and erosion. It comes in ready-to-use job on pallet kit and it is easy for application as well. In this guide, we will delve into how you can effectively mix and apply Armor Ultra 3 Layer industrial systems at your home by yourself and have professional finishing on the floor.
Tools for Using Armor Ultra 3 Layer Pallot Kit
Although Armor Ultra is fully equipped for the application on floor such as Etch solution, 2-part industrial epoxy primer, 100% solid high build Armor Ultra epoxy, military-grade protective topcoat, high wear non-skid powdered metal wear additive. However, you will require the following tools.
Power mixer
Mixing budget with liner
18” industrial roller frames
18” epoxy roller covers
Calibrated notched squeegee for application
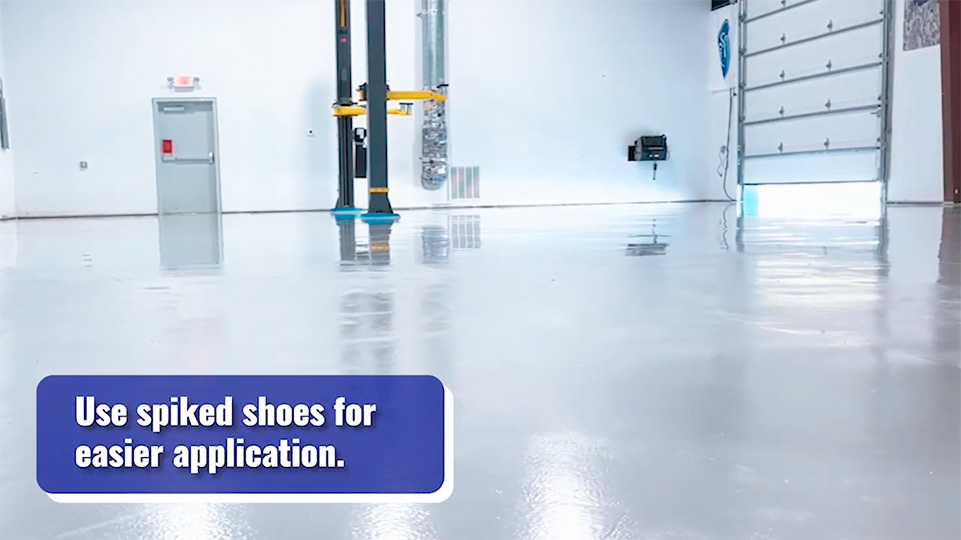
Spiked shoes
Electric Drill
Painter Pole
Points to note before Application
Keep the material out of the sun and in a cool environment before application.
Application temperature needs to be set between 45-90F
You can have different sections on the floor as long as you follow the coat ratio for mixing Armor Ultra Solution.
Take proper time out to read the instructions and additional information along to make your floor a brand new one.
Steps for Application
The step by step guide provides all the information you need to install Armor Ultra 3 Layers System in your residential areas. However, it is important to go through each step one by one to make sure all is done perfectly for best results.
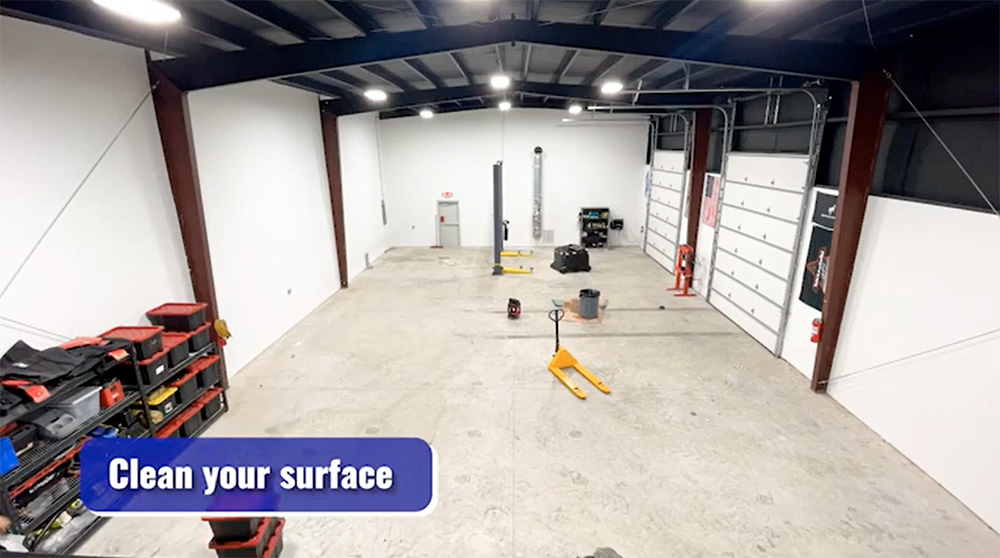
Step 1: Clean the Surface
Before using the Armor Ultra 3 Layers Solution, it is important to have a well prepared floor. Coating on the dirty or messy floor will result in damaging the floor further.
It is super important to empty your room from all the furniture and stuff.
Once done, clean the floor from all debris and oil curing compounds. Even loose paint needs to be removed. If you have a new concrete floor, that also must be swept or vacuumed after emptying the space.
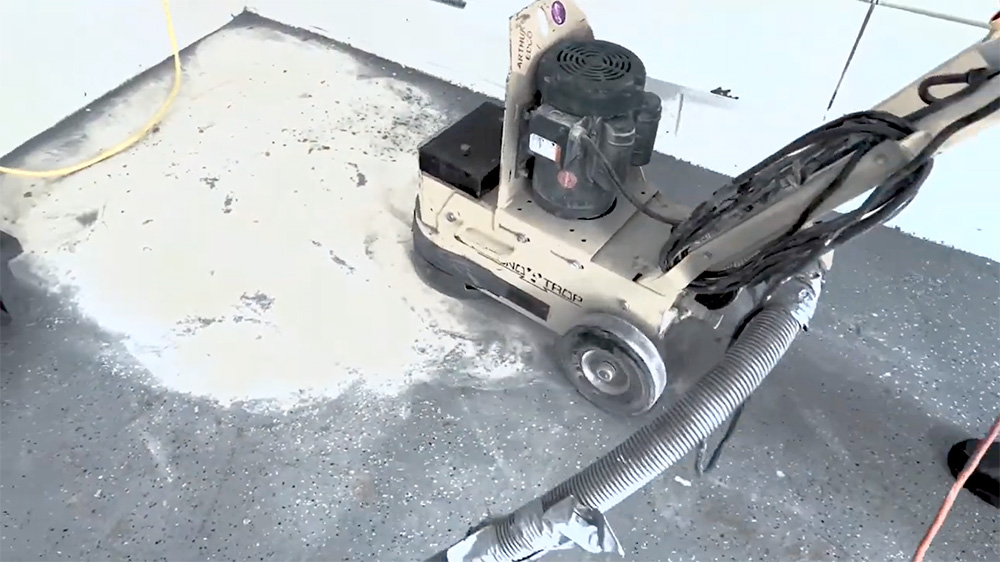
Step 2: Use Grinding machine to clean surface
It is recommended to clear out all the debris with the help of a grinding machine or use a water hose to flush the entire area clean.
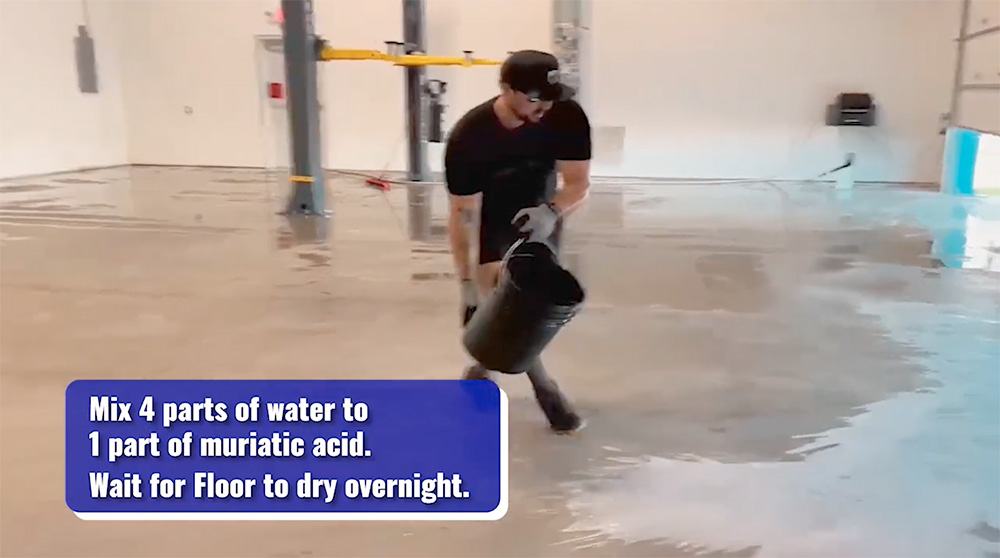
Step 3: Mix water in Muriatic Acid
Once you have flush the whole floor with water, now you have to add Edge mixture to water in a pale and mix the muriatic acid solution by diluting the acid with four (4) parts of water in a large empty pale.
Spread that etching mixture all over the floor using a broom evenly. Make sure all of the area is covered properly.
You may notice light or bubbles forming in the mixture, but it is okay.
Let the surface be properly dry overnight.
Step 4: Fix your cracks
Before applying the Armor Ultra 3 Layers solution on the floor, it is important to fill any cracks or gaps you have in your floor surface.
Mixture 2 parts crack filler offered by Armor Epoxy.
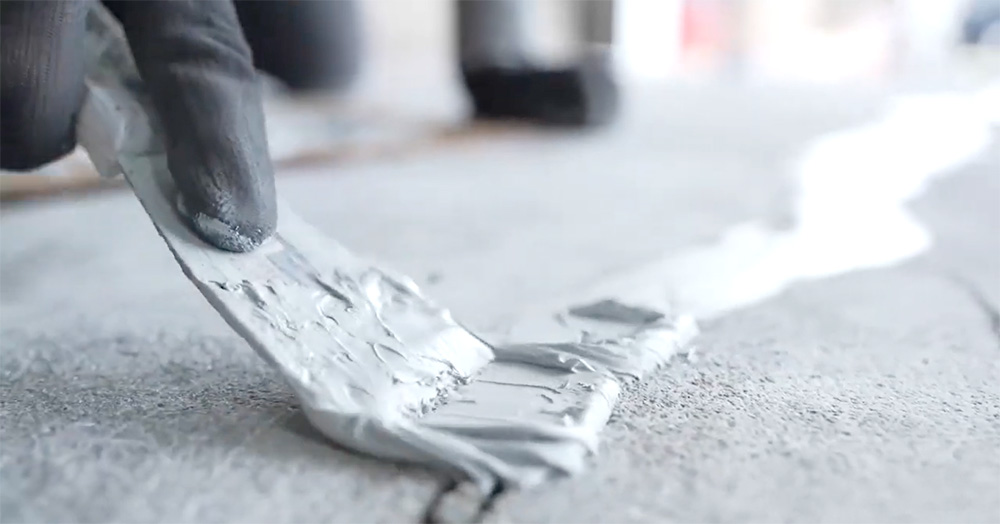
Using the putting knife, fill any cracks or gaps that are visible on the surface. Push the Crack filler in the gaps and even it out from above.
You can also use duct tape to cover any area or surface that you don’t want to be epoxy coated such as edges of the room, walls and furniture parameters. Secure those areas properly.
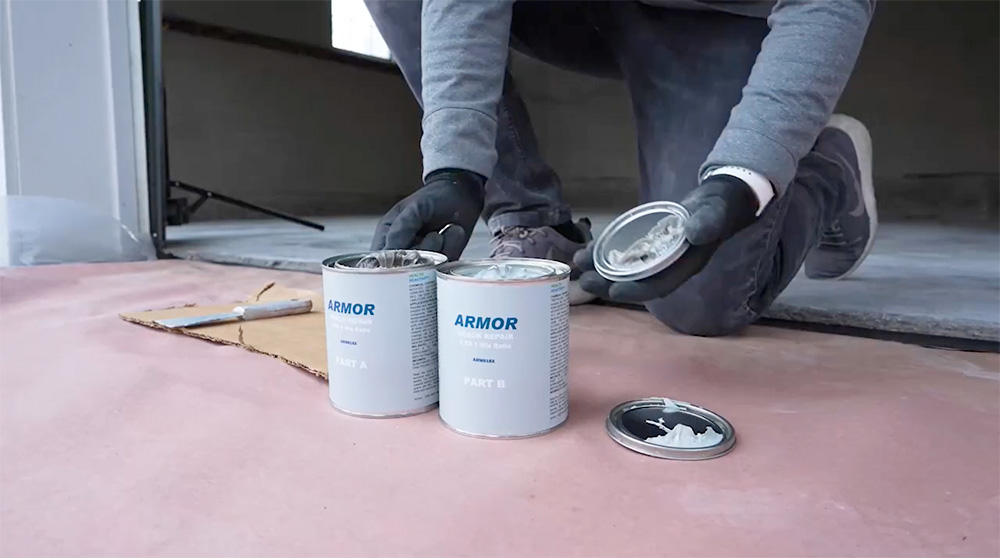
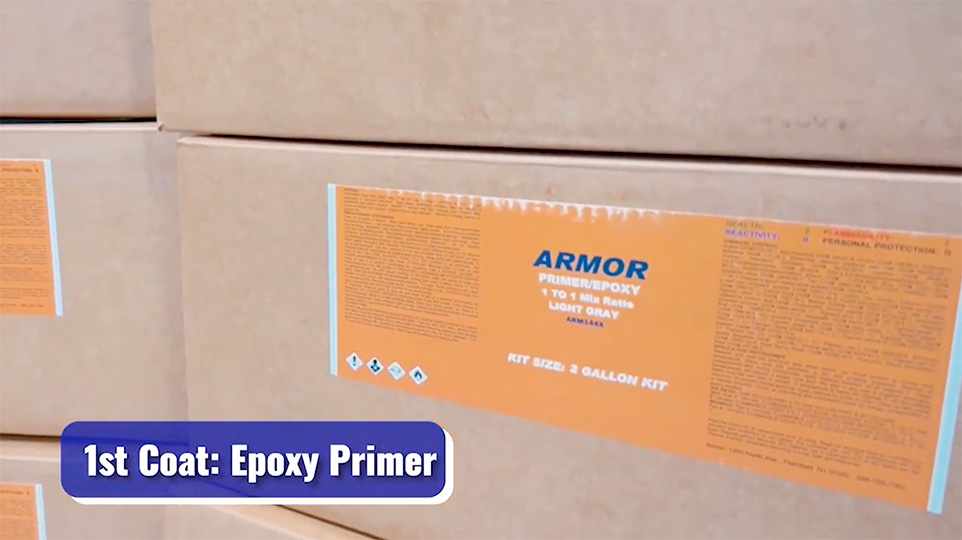
Step 5: Apply 1st Coat of Epoxy Primer
The first coat is the 2 parts Epoxy Primer. Mix the Primer according to the ratio mentioned in the box. It requires a thorough mixing of Part A and Part B components using a metallic mixer that comes in the box.
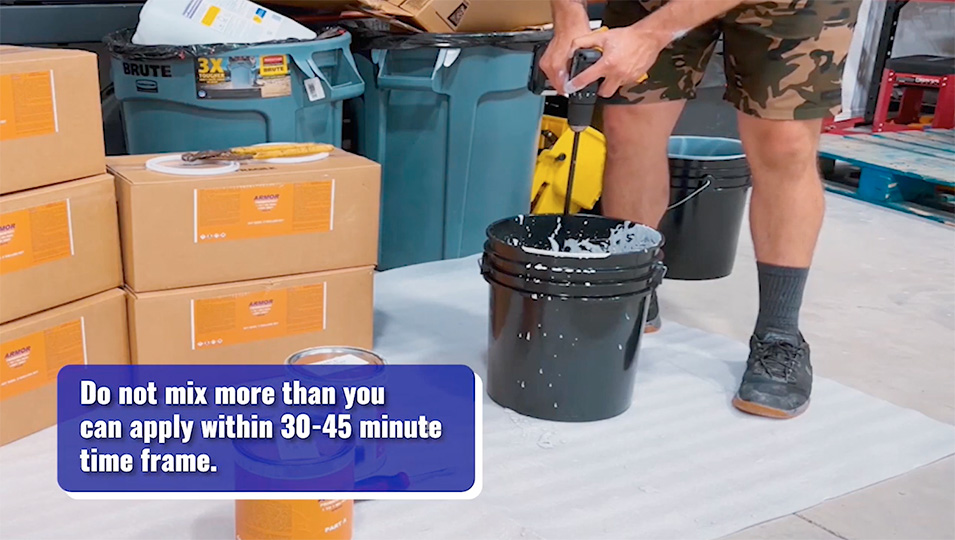
Mix the solution for 2 to 3 minutes using a metallic mixer and electric drill on medium speed.
Do not mix more so that you can apply a single coat within 30 to 45 minutes. Mixing more primer will result in hardening and stiffening mixture.
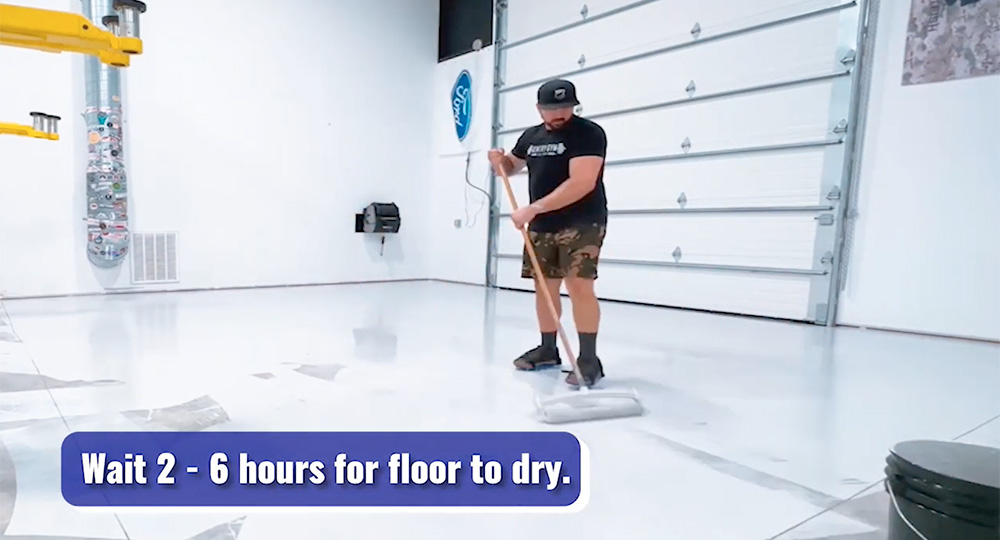
Pour this mixture evenly on the surface and using the roller, spread the mixture all over the floor.
The mixture will take around 2 to 6 hours to dry. If the floor is not dry, let it be dry before applying the second coat.
Step 6: Apply the 2nd Coat
The second coat is Armor Ultra 100% Solid high build Epoxy. This product gives a solid build to the floor and its thickness will define the finishing of the floor.
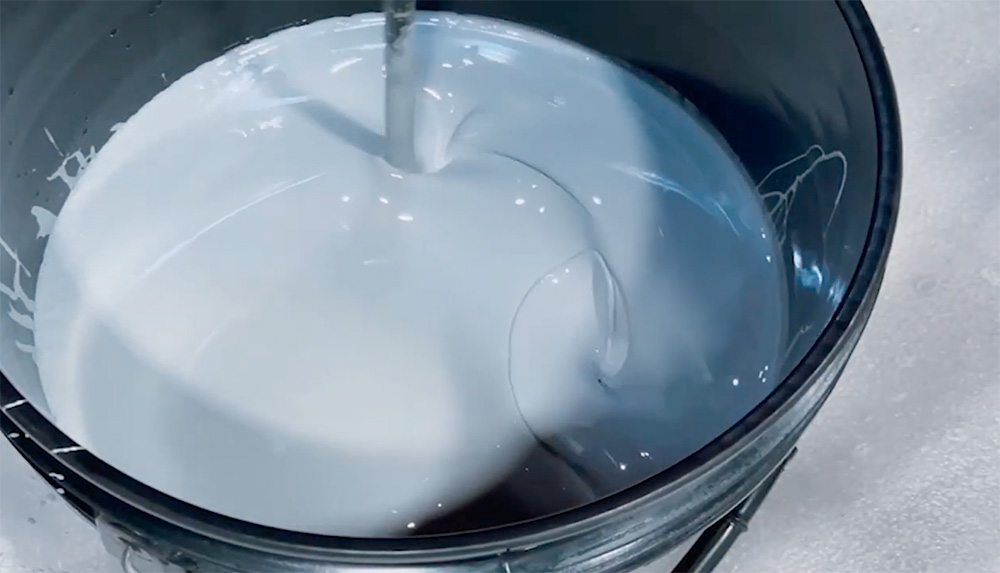
High Build Epoxy comes with the Armor box and needs to be mixed using the metallic mixing machine or electric drill using ratio 2:1 of component A and B for 2 to 3 minutes.
This mixture is a high curing product, So, only mix the product that you can use within a 30 minute time frame. Otherwise the mixture will be tacky and hard to handle.
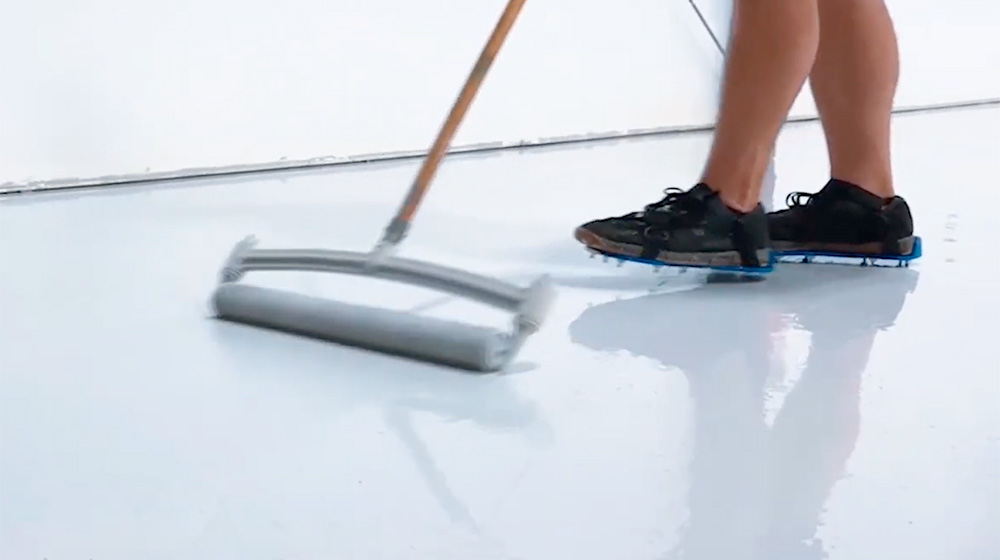
Use the spike shows to walk and pour the mixture over the floor in puddles.
Use the squeegee to push the epoxy around and a roller to roll it out properly, letting the floor dry overnight. If the floor is not dry, let it be dry for 3 to 6 hours before applying the final coat.
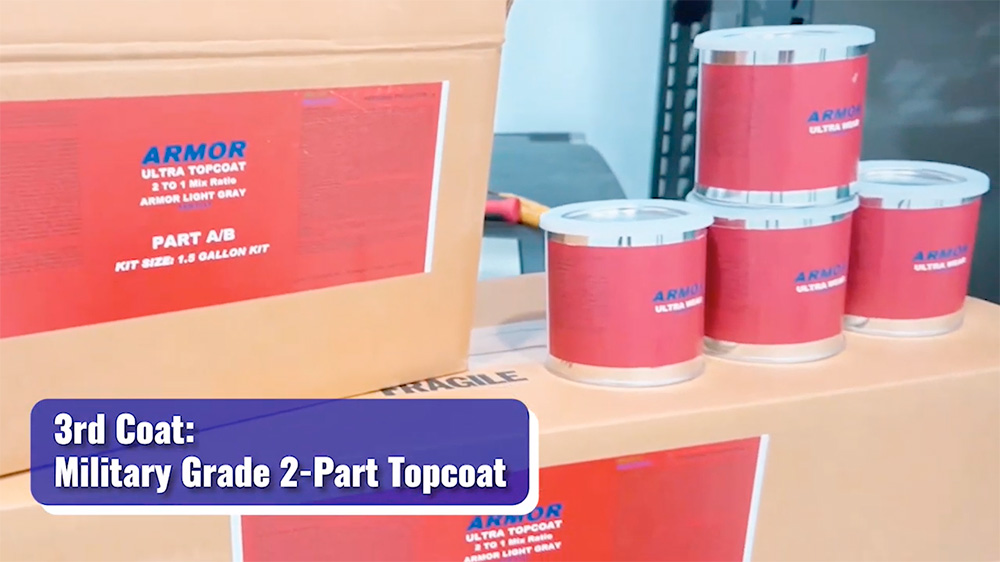
Step 7: Third and Final coat “Military Grade Top Coat Armor Ultra”
Once the floor is properly dry with Solid Epoxy, it is now time to apply the third and final coat i.e. Military Grade Top Coat Armor Ultra.
It is mixed in a 2:1 ration with component part A and part B.
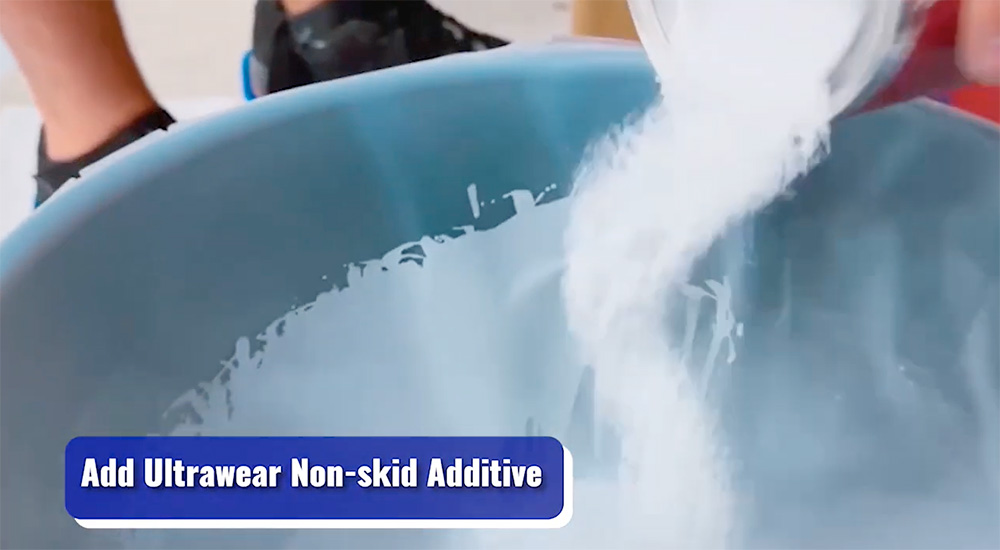
Once the mixture is ready, you have to add an ultraware non-skid additive in the mixture before applying to the floor. This is added considering ½ to one pint per gallon pour.
Consistently mix this coat for 2 to 3 minutes in a bucket since it has the tendency to suspend or become hard.
Pour this mixture directly on the floor and using the roller even it out of the floor until the whole floor is covered.
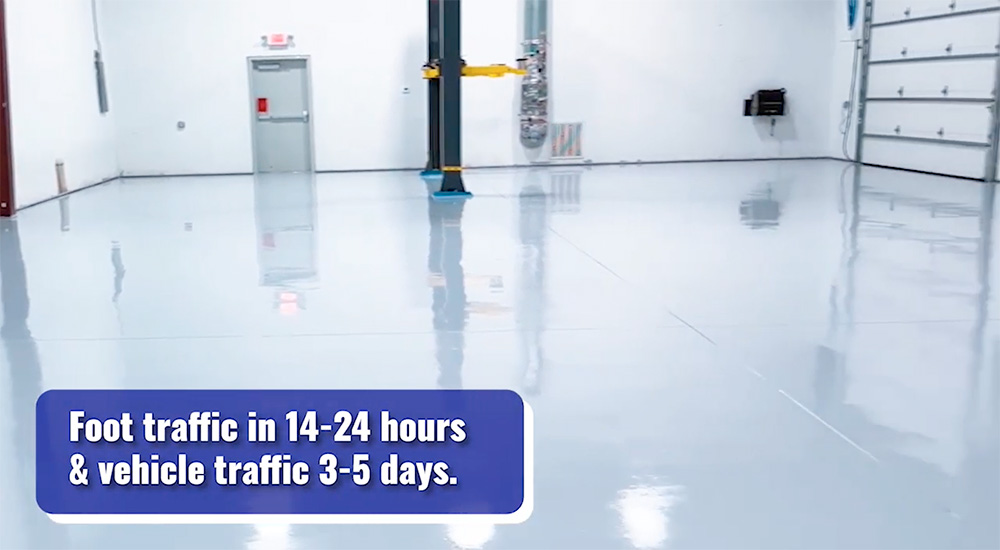
It is recommended to wait for overnight or 14 to 24 hours until the floor is properly dry. You can use the floor in 14 to 24 hours for walking, but vehicle traffic needs to be done after 3 to 5 days.
Professional Tip
Military Grade Topcoat can be dry depending on the temperature and it can speed up the curing process. Armor Epoxy Ultra System is easy to maintain throughout the periodic mopping and using non-bleach household detergent solution. Using clear water to resin and maintaining it effectively.
Armor Ultra System is a professional application that comes with easy instructions. However, you may contact the Armor team of professionals for any support or advice. They can ensure your application is as perfect as done by professional.


No comments yet.