ArmorPoxy No Prep Primer is a revolutionary single-component, sol-gel based fusion primer. It is designed for seamless application on the surfaces and with dual purpose in mind.
To act as surface primer
To act as intercoat adhesion enhancer
ArmorPoxy is a remarkable product that makes the application easier for people and save significant time and money as well. ArmorPoxy has easy application steps and it can be applied in over 10 to 15 minutes’ time.
This guide provides steps on how and why to use No Prep Primer for surface to get seamless shiny and sustainable.
Why use No-Perp Primer
There are two primary ways that No Prep Primer is used. The most common is to prime substrates such as concrete or tile without really needing to grind or profiling the surface. The other way is to use No Prep Primer for intercoat adhesion on already existing coating and applied without the specific demand of sanding or grinding the existing coating.
Method to Apply No Prep Primer
The method of applying the No Prep Primer is very similar to the Armor Epoxy. Follow the steps below for easy transformation of your residential or commercial space.
Step 1: Sweep the Floor
Cleaning of floor or surface are critical for perfect results and installation. So, before any application, it is important to sweep the floor and remove all dust and debris.
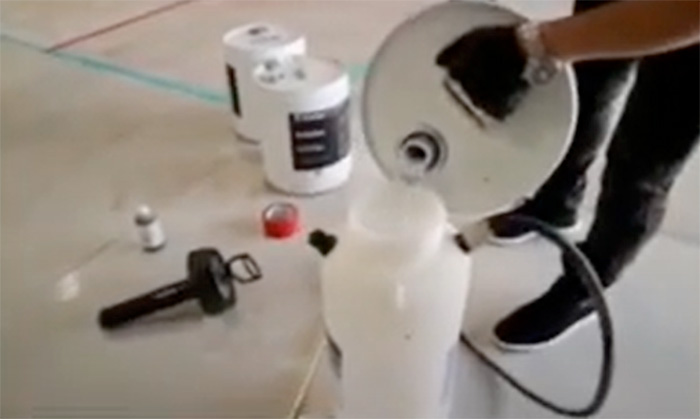
Step 2: Pour the solution in Sprayer
Once you made sure that your surface is clean and free of any dirt, you have to pour the No Prep Primer in acetone proof pump sprayer. Having Chapin or Swiss Mix would guarantee maximum results.
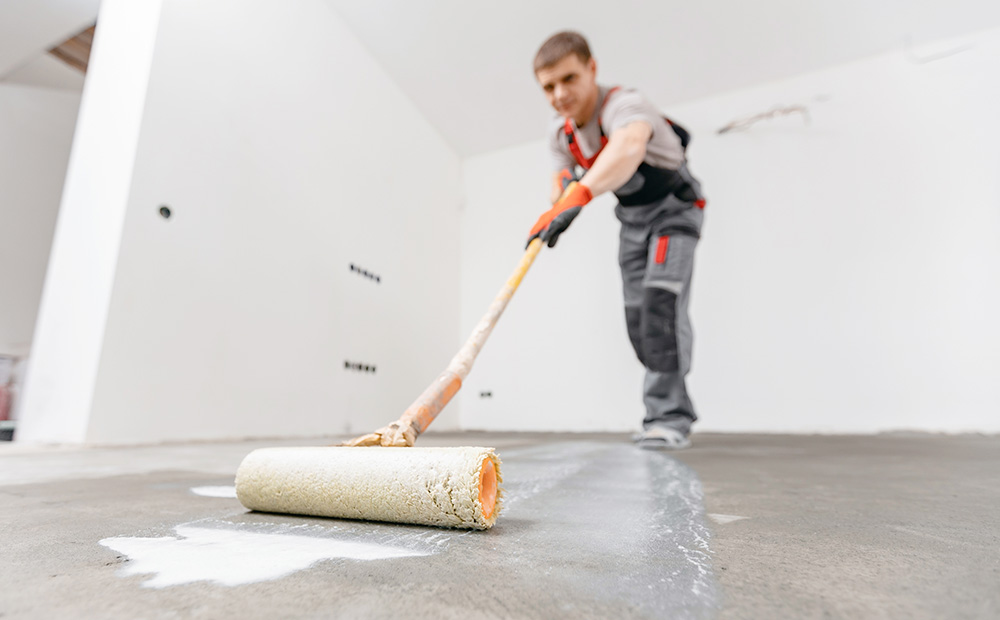
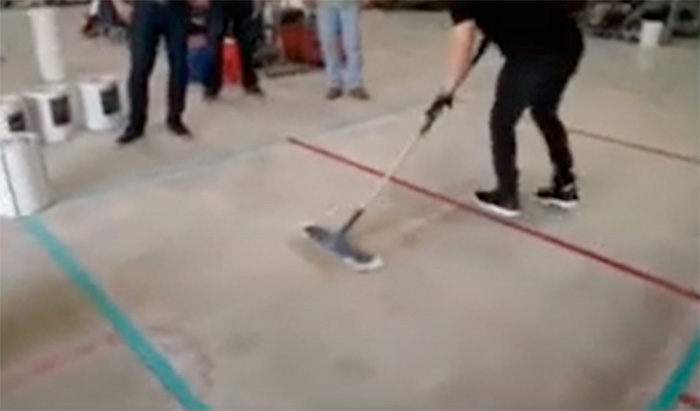
Step 3: Apply Primer in Circular Motion
It is important to note that applying the Primer directly on the surface requires it to spray in circular motion instead of 45-degree angle. The spray bottle will lose its pressure over the time and thus would require pumping during application.
You have to use your wrist to evenly spray the No Prep Primer for uniform application.
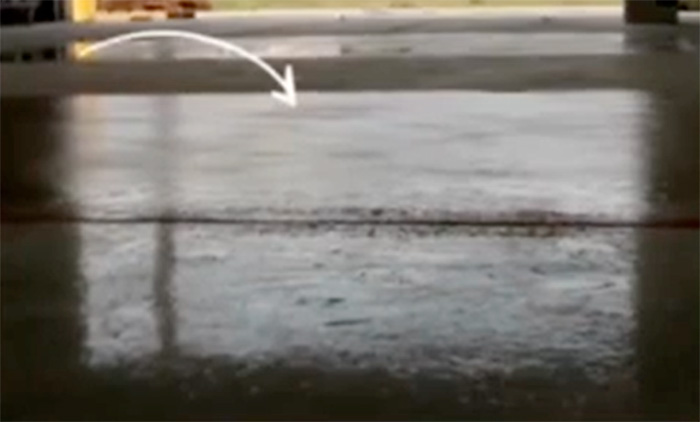
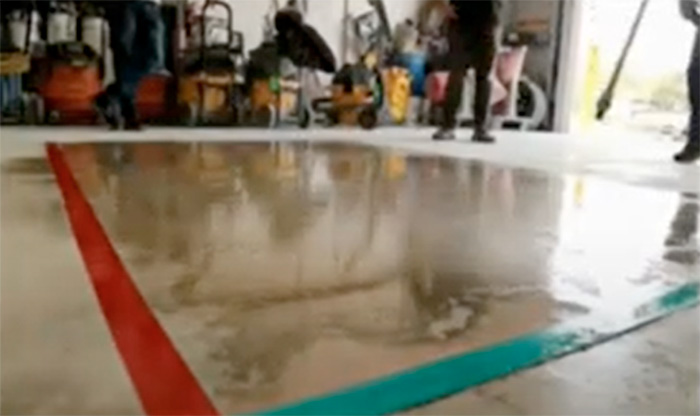
Step 4: Look for Dry areas
Once the first coat of Primer is done, you have to let it dry. As the surface is steadily drying up, you can easily spot the dry areas in the sunlight where additional primer is required.
Look for those areas and apply consecutive coats of Primer until concrete is slightly glossy and no dry spot is left.
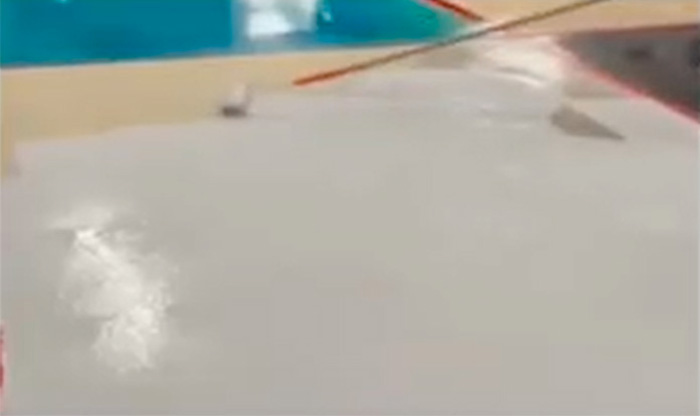
Step 5: Drying Process
Once the surface is covered with Primer, you have to let it dry. Make sure no tacky or sticky feel is coming when you touch the floor before applying the next coat.
Pro tip:
If you finger easily slide across the floor, it means No Prep Primer is ready for next coat. Let it dry.
Step 6: Apply the next coat
Once the No Prep Primer is okay and tacky, apply the next coat of epoxy as normal. Here it is important to note that you have 90 minutes’ window to apply next coat if the No Prep Primer has become tacky.
You can simply abrade the surface and reapply the coating once the tacky apply is observed before next and final coat.
Professional Advice
ArmorPoxy No Prep is a strong adhesion that has proven its worth multiple times. Its application requires minimal time and effort. The product comes with professional instructions and if any guidance is required, ArmorPoxy professional team is available for your service.


No comments yet.