A DIY project is an interesting activity, and it has the opportunity to open up the creativity and craftsmanship of the individual. DIY with resin is an endless source of creativity and activity. One can make so many products and crafts from resin and make them memorable items. In the article, we will take you down the lane in your own DIY resin project and give you a step-by step guide on making unique and interesting DIY tea coasters. So, follow up on the steps on what you need to make your very own tea coasters.
Material and Tools
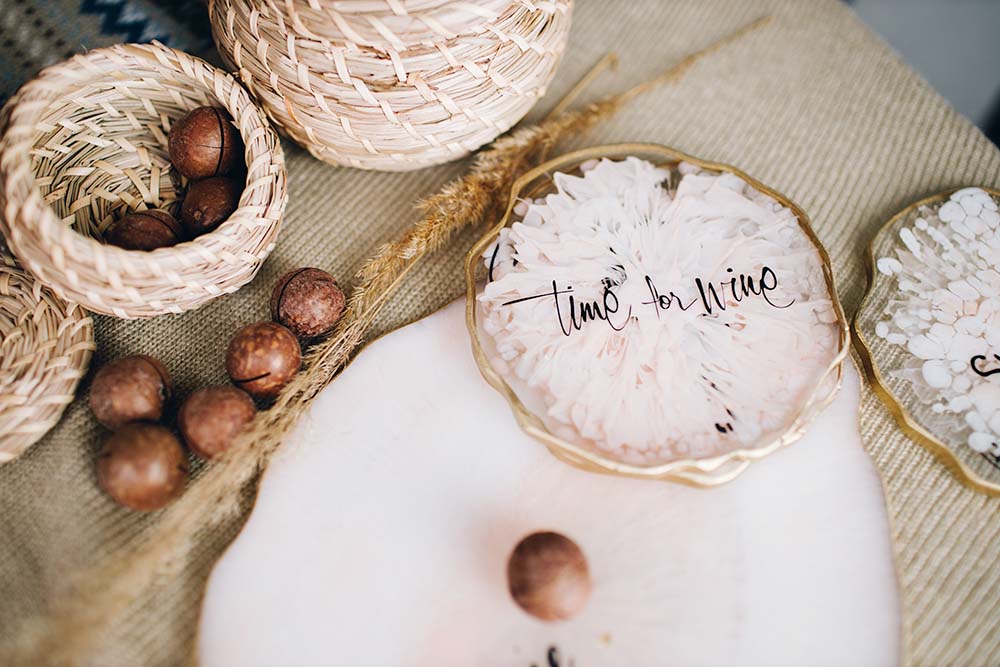
Resin tea coasters are the perfect household item that can be used on your table. It can be in various colours and patterns as per your preference. It is easy to make, and it only requires a couple of materials and tools. All the materials are available at the Armorpoxy site at an affordable price and of the best quality as well.
- Silicone molds
- Epoxy resin kit (resin and hardener). This is available easily at Armorpoxy.
- Mixing cups and sticks
- Pigment inks for colouring (optional)
- Decorative elements like dried flowers or glitter (optional)
- Heat gun
- Sandpaper
- Cork sheet
- Adhesive
- Protective safety glasses, gloves, and mask
Steps to make Resin Tea Coasters
- Set up the workstation in an open area and cover the surface of the table or ground with a plastic sheet for protection.
- Select coaster molds that complement the size and shape. Ensure they are clean and dry properly.
- It is recommended to apply petroleum jelly at the base to demold the coaster later.
- Using the Armorpoxy Resin Kit instructions, mix the resin and hardener together. Stir thoroughly to avoid bubbles. The resin will be clear and transparent.
- Pour the resin on the coaster molds. While it is still wet, you can use different coloured inks to create patterns and designs. Pigmentation can be your choice.
- Once the colour inks are added, you also add in decorative elements like flowers, glitter, or leaves to the coaster. Arrange them as per your preferences, using stir sticks.
- Using the heat gun, carefully pass it over the surface to eliminate any bubbles forming in the mixture.
- It will take around 24 to 48 hours for resin to dry properly in a dust-free environment.
- Once it is fully dried, you can gracefully demold the coaster from the silicon mold.
Extra Tips
- To give the tea coasters proper shape and perfection, you can resin off any edge or excess resin from the coasters and smooth them.
- You can always experiment with different molds, colours, and decorative elements to create a diverse set of coasters.
Technique Matters in Resin Proxy
Creating a tea coaster from scratch is a delicate dance between resin and colour. However, technique also plays a pivotal role. The pouring of the resin in the silicon mold is a strategic pattern that guides the flow of resin in a natural movement and settles smoothly. The resin can be shaped and crafted around the edges. This technique demands precision, patience, and intuitive understanding.
Colours that are Captivated
Resin coasters need to be attractive and appealing to the eye. You can use captivated colours, a spectrum of hues, or any artisan items that range from deep blues to blood red. The choice of colour and hues is a deeply personal and artistic decision.
Armorpoxy Resin Kit
With a touch of creativity and careful craftsmanship, DIY resin coasters add a touch of elegance to your teatime ritual. It can be a personal gift or any decorative item in your household. Armorpoxy makes sure that your personal creativity is fully crafted with an easy resin mixture and instructions. The resin kit is available at an affordable price, and expert instructions can be used for a better DIY project.


No comments yet.